Setting up FreePBX
Logging on to the FreePBX
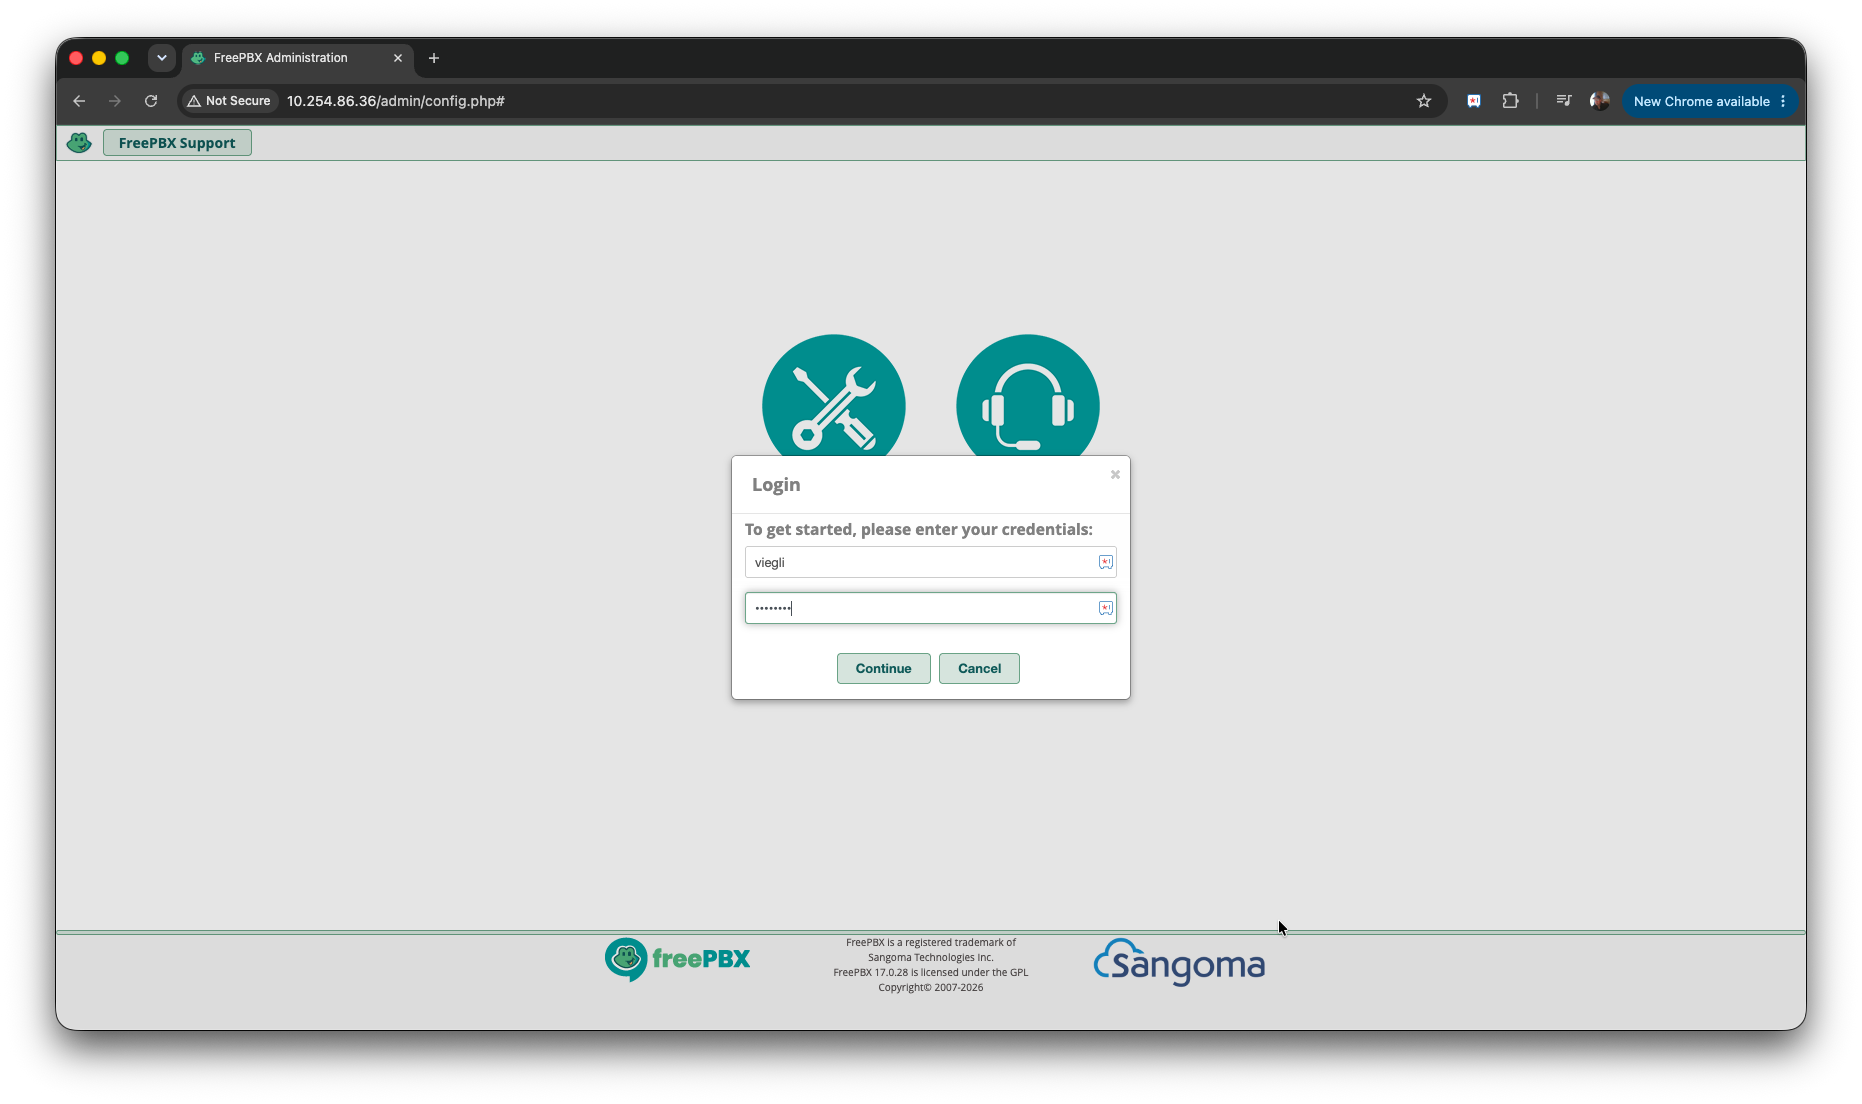
You log into the system using the inbuilt browser...
Click on FreePBX Administration and enter your username / password
Configuring the SIP Trunk
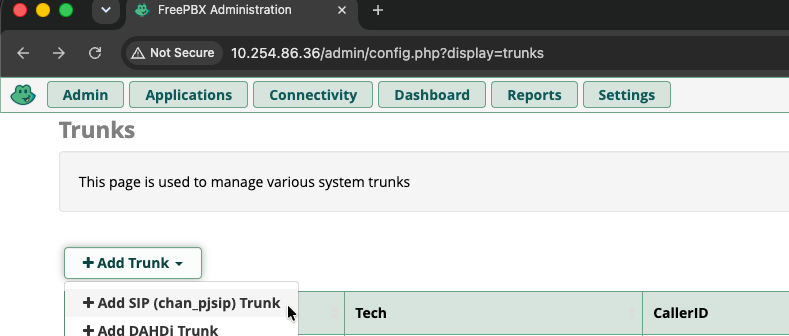
To create the trunk (if not pre-configured). Navigate to Connectivity > Trunks
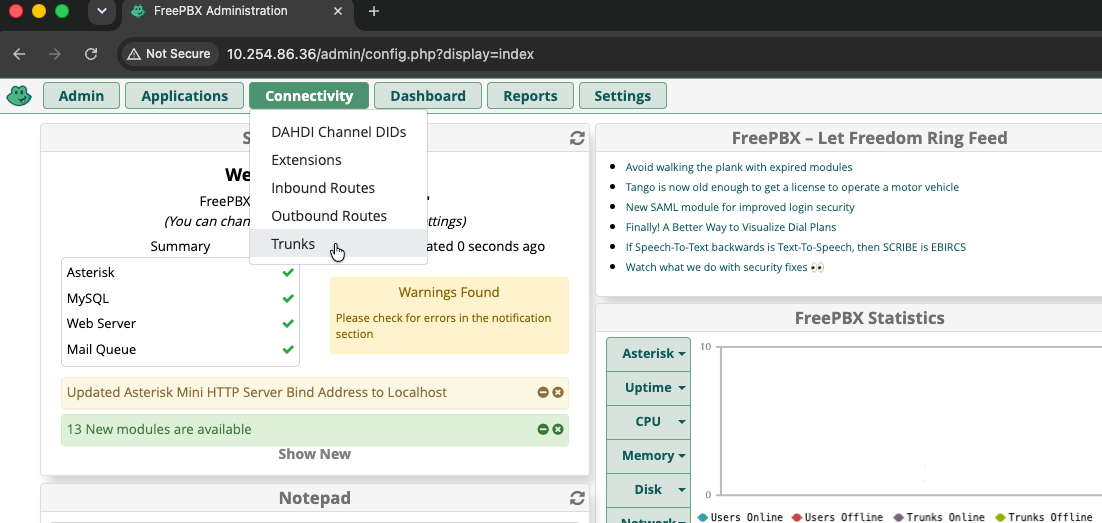
Click on + Add Trunk then Add SIP (chan_pjsip) Trunk
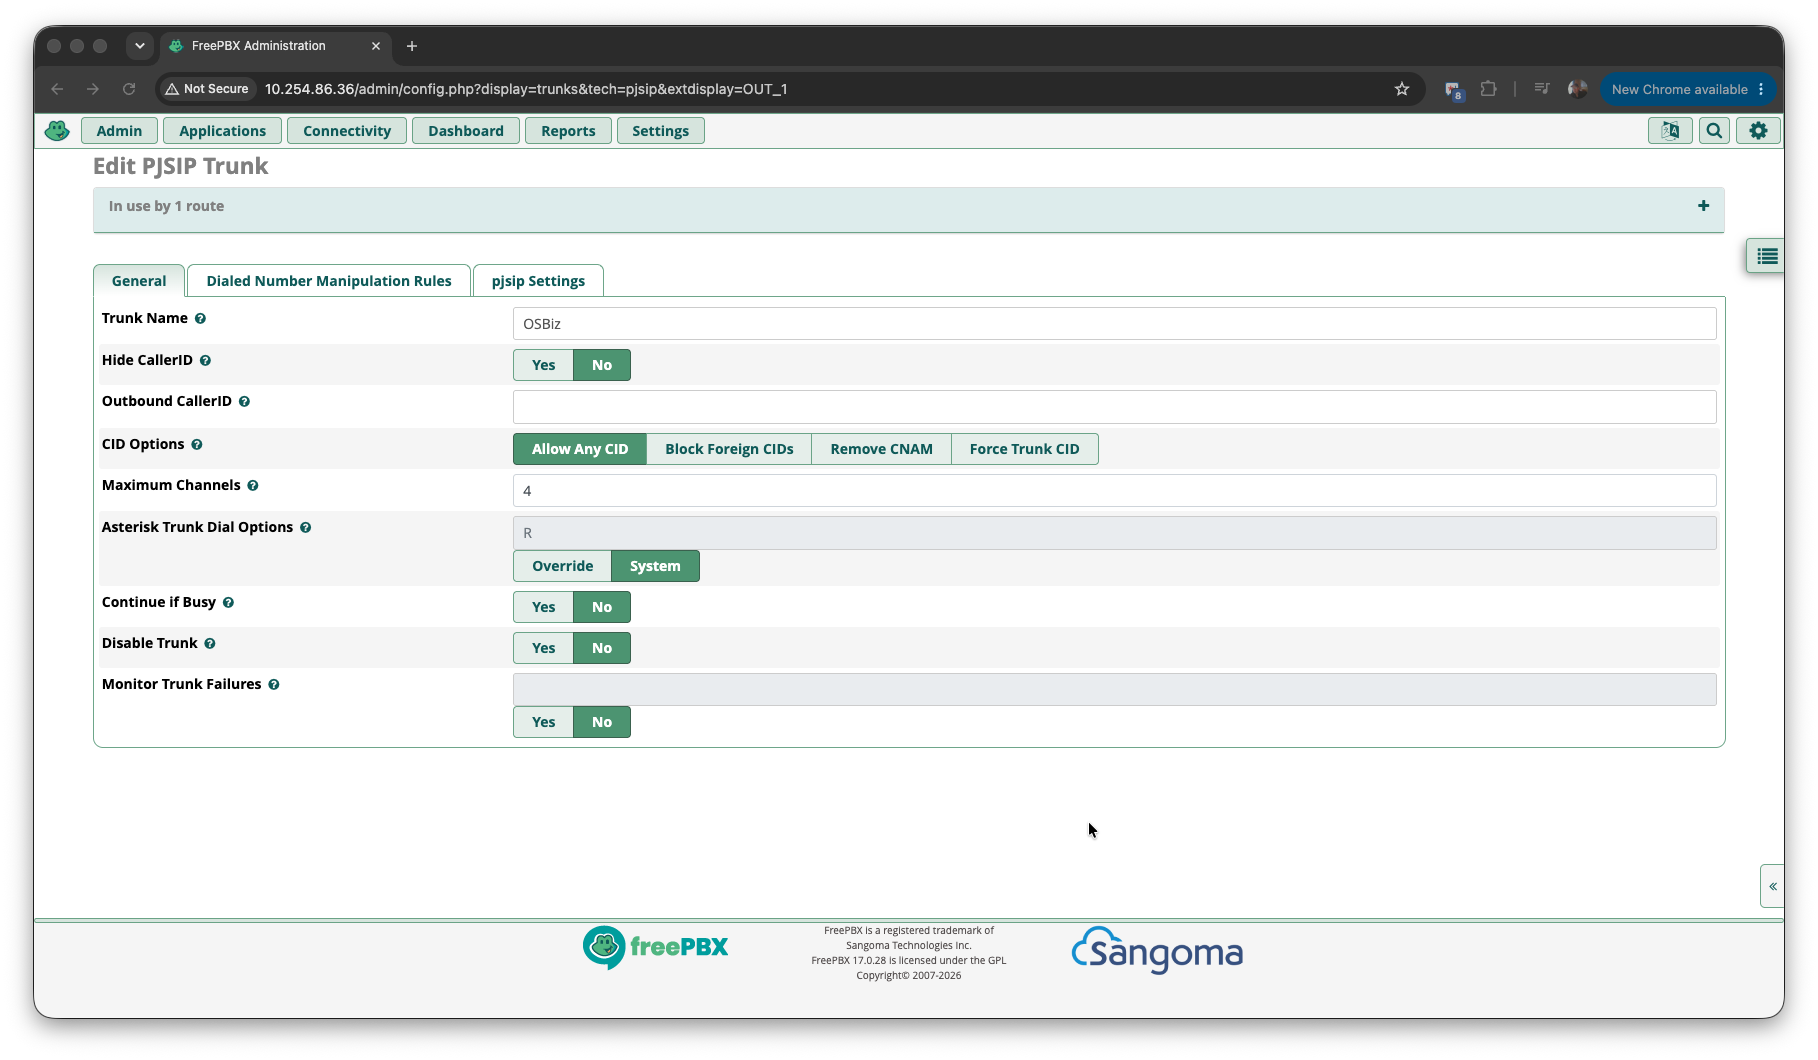
Settings
- Trunk Name : We've used "OSBiz" but anything meanningful
- Hide CallerID : No
- Outbound CallerID : Leave Blank
- CID Options : Allow Any CID
- Maximum Channels : We've set ours to "4". It's highly unlikely you'll need more.
- Asterisk Trunk Dial Options : "R" and System.
- Continue if Busy : No
- Disable Trunk : No
- Monitor Trunk Failures : Left Blank
Now click on the pjsip Settings tab
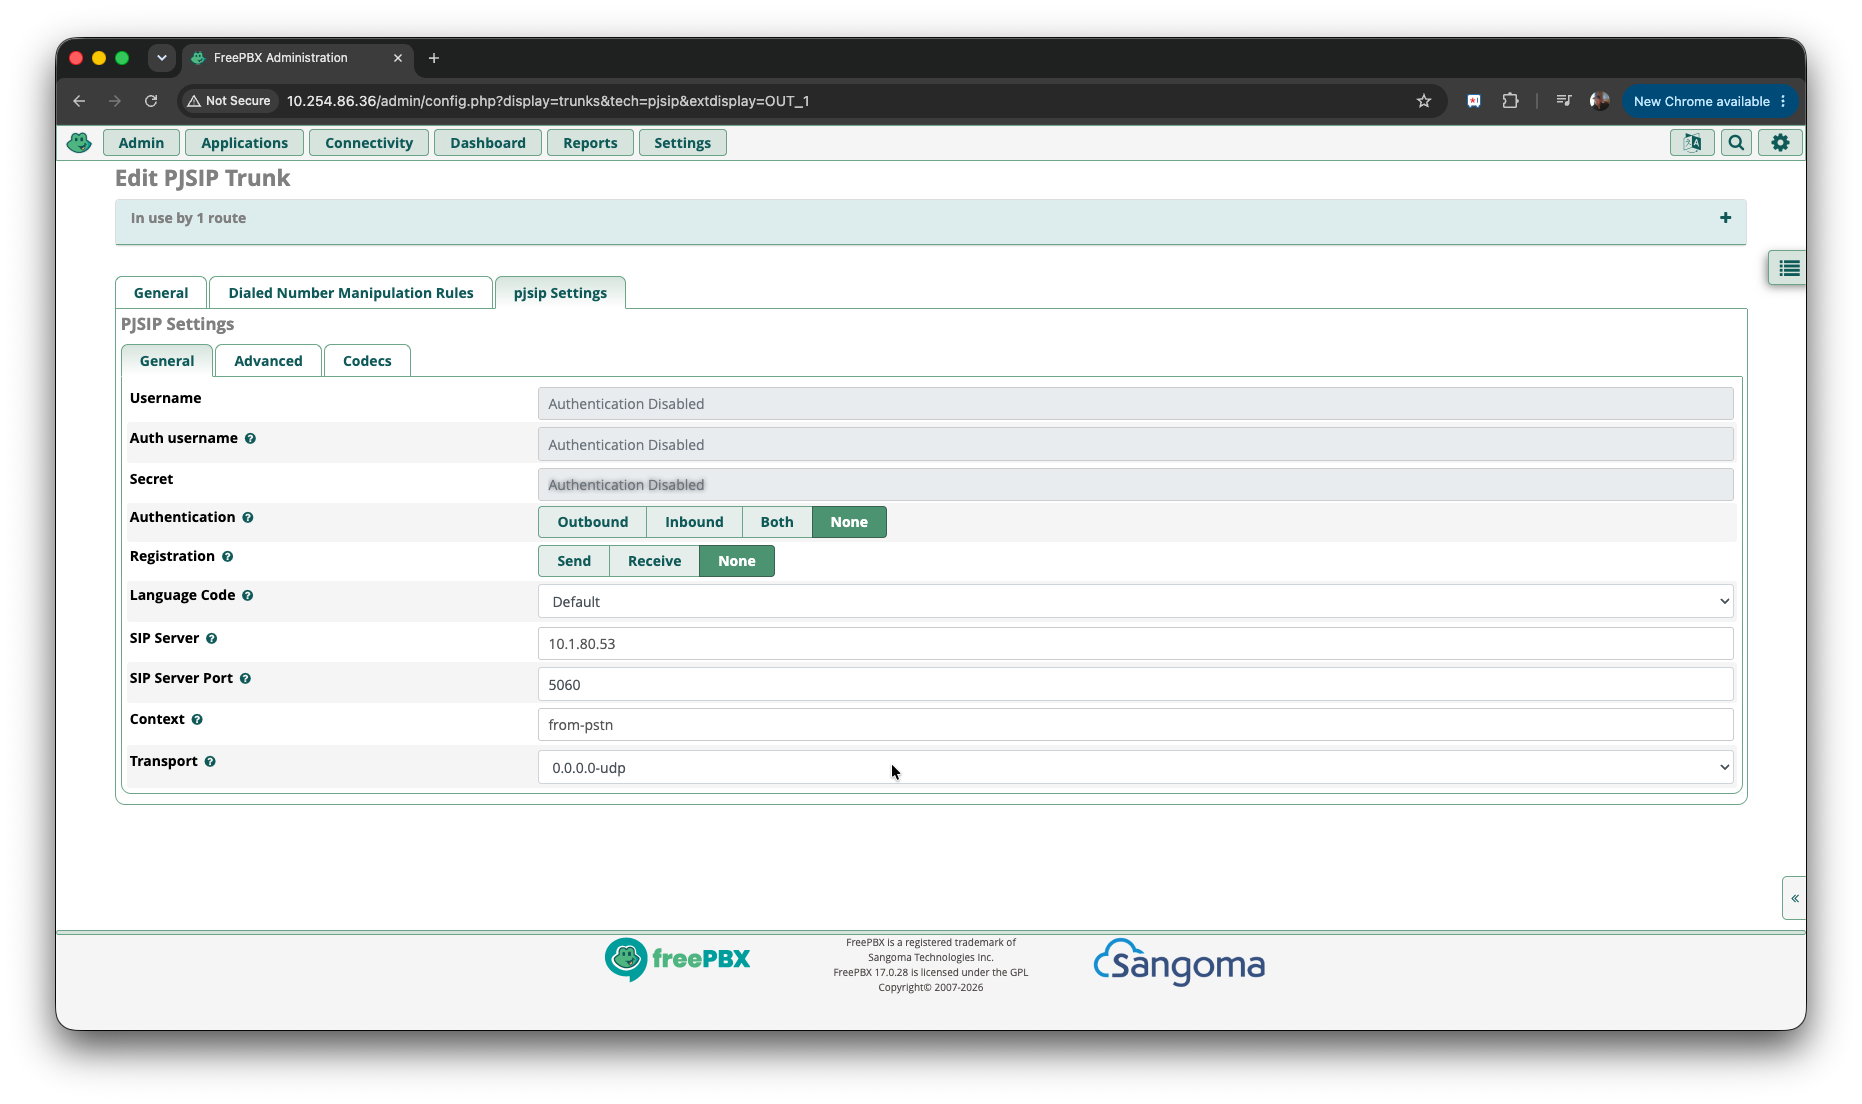
- Username, Auth Username and Secret : These will all be greyed out once you set the below.
- Authentication : Set this to None - This will then grey out the above options.
- Registration : None
- Language Code : Default
- SIP Server : The IP Address of the OpenScape Business (internal IP)
- SIP Server Port : 5060
- Context : from-pstn
- Transport : 0.0.0.0-udp
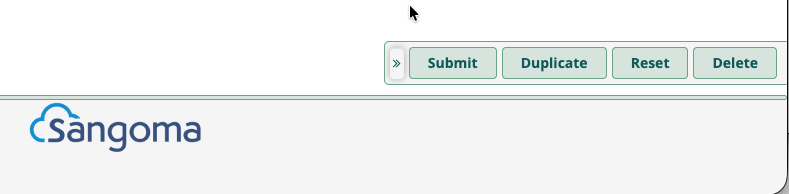
Click on Submit (bottom right) then Apply Config (top right)

Setting allowed IP Subnets
Navigate to Settings > Asterisk SIP Settings
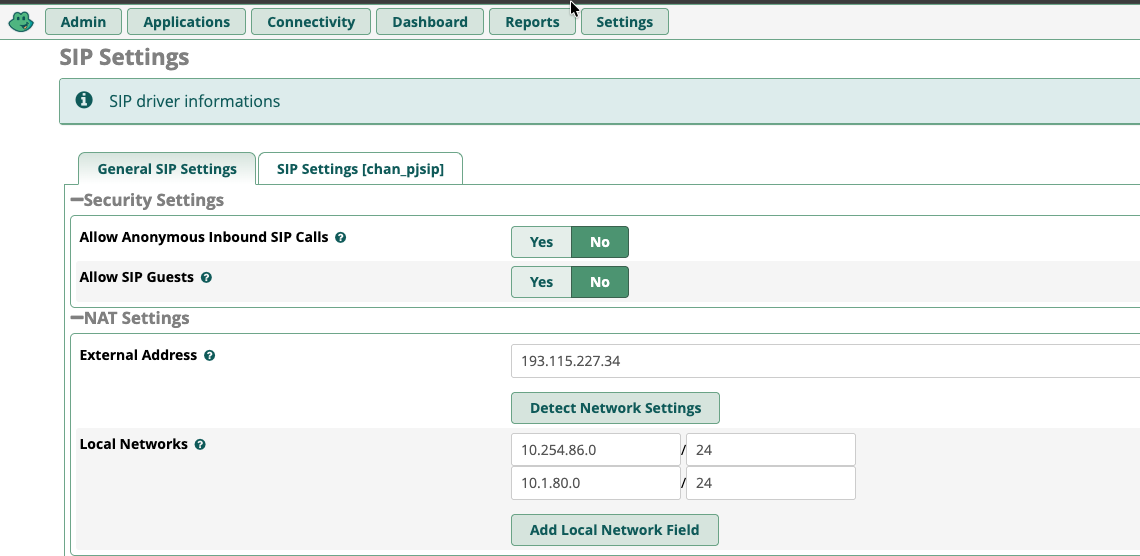
Here you can see that the external IP is automatically detected. We DO NOT use this at any stage.
Your Local Networks will be blank. Click on Add Local Network Field and add the subnet that will be sending the INVITES. if your system is hosted by viegli it will be either 10.1.80.0/24 or 10.211.0.0/23.
Note : If you have added SIP extensions then you must also add the customers LAN IP's in here. So in the example you can see 10.254.0.0/24 as an example.
THE SOLUTION WILL NOT WORK UNTIL YOU ADD THESE ALLOWED SUBNETS.